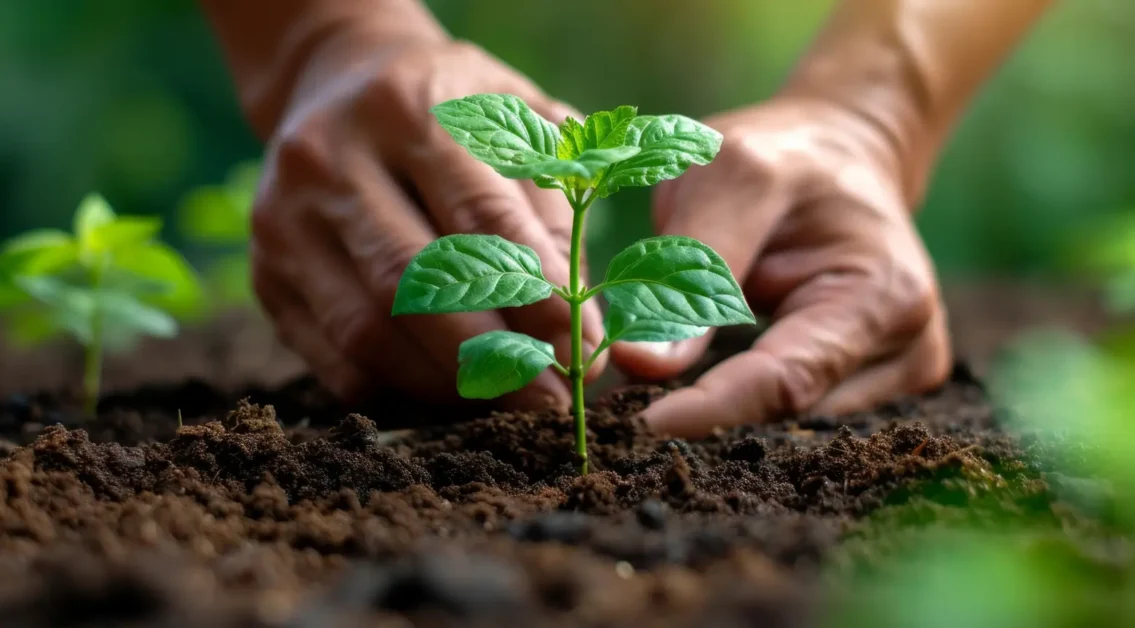
Creating your own liquid fertilizer from kitchen waste is an eco-friendly, cost-effective way to nourish plants using what you already have at home. This method not only reduces household waste but also provides plants with the essential nutrients needed for healthy growth. In this guide, we will explore how to make liquid fertilizer, what ingredients work best, and how to ensure its safe and effective use. Throughout the article, the term “liquid fertilizer” will be naturally integrated to support your SEO strategy.
Common Kitchen Scraps That Can Be Turned Into Liquid Fertilizer
You’ll be surprised by how many everyday kitchen scraps can be repurposed into nutrient-rich liquid fertilizer. These waste materials are loaded with macronutrients and micronutrients beneficial for plants.
Here are the most effective kitchen scraps for making liquid fertilizer:
- Vegetable peels: Especially from potatoes, carrots, and cucumbers; high in potassium and phosphorus.
- Banana peels: Rich in potassium, a key nutrient for fruiting plants.
- Used coffee grounds: Packed with nitrogen and a slight acidity, ideal for acid-loving plants.
- Tea leaves: Offer moderate nitrogen and help improve soil structure.
- Eggshells: Provide calcium and help balance pH levels.
- Citrus peels: Use in moderation; high in vitamin C and organic acids.
These items serve as an excellent base for DIY liquid fertilizer and, when broken down properly, provide a balanced nutrient profile similar to commercial products like Biofast, which includes NPK and organic matter for holistic growth.
Simple Recipes for Homemade Liquid Fertilizer Using Organic Waste
Making liquid fertilizer at home is straightforward and requires minimal equipment. The key is to let organic waste steep long enough to extract its nutrients.
Here are a few easy-to-follow recipes:
1. Basic Kitchen Scrap Steep:
- Place a mix of vegetable peels, banana skins, and coffee grounds in a 5-liter bucket.
- Fill with water and cover loosely.
- Let it steep for 3–5 days.
- Strain and use the liquid to water your plants.
2. Eggshell-Citrus Booster:
- Crush 10 eggshells and a handful of citrus peels.
- Soak in 2 liters of water for 4 days.
- Strain and apply as a calcium-rich tonic.
3. Nitrogen-Rich Tea Leaf Soak:
- Use used black tea leaves and coffee grounds.
- Steep in warm water for 2–3 days.
- Strain and apply to leafy vegetables.
For gardeners seeking higher consistency and control, integrating a dose of SULPHOMIN (with 45% nitrogen and 25% organic matter) into these mixtures can enhance results, especially during active growth stages.
How to Steep and Strain Kitchen Scraps for DIY Liquid Fertilizer
The fermentation and extraction process is crucial to ensuring your liquid fertilizer is both potent and safe. Here’s a breakdown of best practices:
- Container Selection: Use plastic or ceramic buckets with lids that can allow some airflow.
- Water Quality: Use chlorine-free or dechlorinated water to preserve microbial activity.
- Steeping Time: Let the mixture sit for 3 to 7 days, stirring once daily to promote even breakdown.
- Straining: Use a fine mesh or cheesecloth to filter out solids before application.
To improve nutrient stability and extend shelf life, consider blending in a small amount of Ugarit 10-0-5 + 70% Organic Matter, which contains humic and fulvic acids that enhance nutrient uptake.
Dos and Don’ts of Using Kitchen Waste in Liquid Fertilizer
While the DIY process is simple, there are important precautions to ensure plant safety and nutrient balance.
Do:
- Always dilute homemade liquid fertilizer (1:5 ratio with water).
- Test pH before application if using citrus or coffee-based mixes.
- Use the fertilizer within 7–10 days to prevent microbial buildup.
- Rotate fertilizer types for a balanced nutrient supply.
Don’t:
- Use meat, dairy, or oily foods; they attract pests and cause rot.
- Apply to seedlings or very young plants without dilution.
- Use if mold, strong foul smells, or foaming occurs.
These guidelines help your homemade liquid fertilizer perform comparably to structured blends like Ugarit K-T-S 25, known for its high potassium and sulfur content ideal for flowering crops.
How Long Homemade Liquid Fertilizer Stays Effective and Safe to Use
Shelf life and effectiveness are key considerations in using DIY solutions. Homemade liquid fertilizer should be used within 7 to 10 days of preparation to avoid spoilage and maintain optimal nutrient availability.
Signs of effective liquid fertilizer:
- Earthy or slightly sweet smell
- No mold or bubbling
- Visible plant growth within 3–7 days of application
Storage Tips:
- Keep in a cool, dark location
- Use air-tight, non-metallic containers
For prolonged shelf-life or commercial use, mixing in CALCIMAG (with nitrogen, calcium, and magnesium) can stabilize your homemade brew and fortify nutrient density.
Final Thoughts
Homemade liquid fertilizer is a sustainable and powerful tool for gardeners looking to recycle, reduce waste, and nourish plants naturally. With the right kitchen scraps, steeping methods, and integration of professional-grade additives like Biofast, SULFOMIX, or Ugarit Multi, you can achieve growth results that rival commercial fertilizers.
To optimize your gardening outcomes:
- Explore our range of Yarafert liquid fertilizer products for professional-quality nutrient balance.
- Contact our support team for customized guidance on integrating organic waste into your nutrient plan.
- Start today by repurposing your kitchen scraps into effective, eco-conscious fertilizer solutions.
Grow greener, smarter, and more sustainably with liquid fertilizer made right in your kitchen — and let YaraFert elevate your results.

